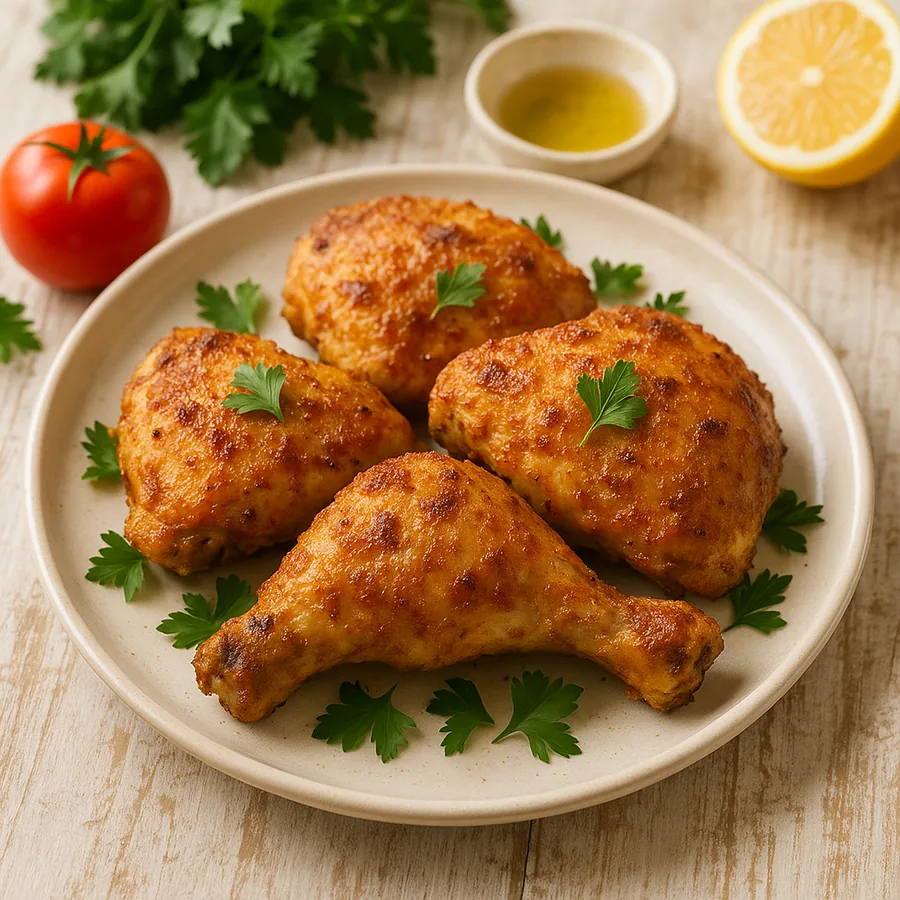
Crispy Baked Chicken That Stays Juicy
You know that craving for crunchy, golden chicken that still flakes moist and tender inside? That’s exactly what this recipe delivers: a foolproof oven-baked method that gives you the crunch of frying without the oil splatter or extra mess. You’ll learn the small tricks—baking powder for extra crisp, a mayo-or-egg binder for better adhesion, and the right oven temp—to get a craggy panko crust and reliably juicy thighs or breasts. I cook this on busy weeknights and for backyard potlucks because it’s forgiving, scales well, and the leftovers reheat without turning gummy. Read on and I’ll walk you through each step so you can make crispy baked chicken that everyone asks for again.
Advertisement
Why You'll Love This Recipe
Why You'll Love This Recipe: This version gives you restaurant-style crunch using just your oven—no deep-frying required—so cleanup is simple and your kitchen stays calm. It’s budget-friendly: bone-in, skin-on thighs are economical and stay juicy, or swap for breasts if you prefer leaner meat. The coating uses panko and baking powder for extra lift and crackle, and a mayonnaise-or-egg binder keeps breadcrumbs stuck without drying the chicken. It’s quick enough for weeknights (about 50 minutes total), crowd-pleasing, and perfect for meal prep—reheats well in the oven or air fryer so leftovers still feel special.
Crispy Baked Chicken That Stays Juicy
By JJ Communication Test Kitchen
Ingredients
Directions
-
1Preheat your oven to 425°F and set a rack in the center. High heat is the single biggest trick to crisp skin: 425°F renders fat quickly and browns the panko without drying the meat. Line a rimmed baking sheet with foil and place a wire rack on top so air circulates under the chicken.
-
2Pat the chicken pieces completely dry with paper towels—this can’t be skipped. Moisture is the enemy of crispness; if the skin feels damp, the crust will steam. Season both sides with 1 teaspoon kosher salt and 1/2 teaspoon pepper, pressing the salt into the skin.
-
3Make the coating: in a shallow bowl combine panko, flour, baking powder, smoked paprika, garlic powder, onion powder, and remaining 1/2 teaspoon salt. In a second bowl whisk mayonnaise with Dijon (or beat eggs). Toss the panko with 2 tablespoons olive oil until evenly moistened so it browns in the oven.
-
4Coat the chicken: working one piece at a time, smear the mayo mixture over the skin side and press the panko mixture firmly onto the coated skin—apply pressure so the crumbs adhere. For breasts, coat both sides; for skin-on thighs, focus on skin. Rest coated pieces on a plate for 5 minutes to set.
-
5Arrange the chicken skin-side up on the wire rack, spacing pieces 1 inch apart for proper air flow. Bake at 425°F for 30–35 minutes for thighs and 20–28 minutes for boneless breasts, or until an instant-read thermometer reads 165°F at the thickest point and the crust is deep golden-brown.
-
6Optional finish: for extra blistered crunch, switch the oven to broil on high and broil 1–2 minutes, watching closely so crumbs don’t burn. Let the chicken rest 5 minutes before serving; resting lets juices redistribute so the meat stays tender.
-
7Check doneness by probing near the bone for bone-in pieces—juices should run clear, not pink. If crust is pale but temp is done, give it another 3–5 minutes at 425°F or a short broil. Serve with lemon wedges to brighten the rich crust.
📌 Ingredient Notes & Substitutions
💡 Chef's Tips for Success
- Use a wire rack over a baking sheet to allow hot air all around the chicken; it prevents soggy undersides and crisps the entire piece.
- Dry-brine overnight: sprinkle chicken with salt and refrigerate uncovered for 6–12 hours to deepen flavor and dry the skin for superior crisping.
- Pulse panko briefly in the food processor if it’s too large—smaller flakes stick better and toast more evenly under the crust.
- If using boneless breasts, pound to even thickness so they cook through without the crust burning; bake about 18–22 minutes depending on size.
- Reheat leftovers in a 375°F oven or 350°F air fryer for 6–8 minutes to restore crispness rather than the microwave, which makes crust soggy.
Nutrition Facts Per Serving
Advertisement
Ingredients & Key Substitutions
This recipe leans on simple pantry staples: bone-in, skin-on chicken for juiciness; panko for an airy crunch; a binder (mayonnaise or egg) so crumbs stick; and a little baking powder for lift. If you need a lower-fat option, swap mayo for beaten egg whites or 2% Greek yogurt thinned with a splash of lemon. Out of panko? Toasted plain breadcrumbs or crushed cornflakes give good texture. Use Morton or Diamond Crystal kosher salt—adjust by brand because Morton is saltier by volume. For gluten-free, use GF panko and 1:1 GF flour in the dredge.
How to Make Crispy Baked Chicken Step by Step
Start by drying and seasoning the chicken, which is crucial for a crunchy crust. Preheat oven to 425°F so the chicken hits high heat immediately. Coat pieces in your binder, press on seasoned panko, and let them rest briefly to set. Bake on a wire rack so air circulates and fat renders away from the crust. Watch for deep golden color and check internal temp of 165°F. If crust needs more blistering, a 1–2 minute broil finishes it. Rest 5 minutes before serving to keep juices locked in.
Advertisement
Variations & Customizations
Make it spicy by adding 1 tsp cayenne or 2 tbsp sriracha to the mayo binder and a pinch of crushed red pepper in the panko. For a kid-friendly version, omit cayenne and swap smoked paprika for sweet paprika. Air fryer option: reduce temp to 400°F and cook 18–22 minutes, flipping halfway. Slow-cooker isn’t ideal for crisping, but you can braise first then finish under broiler for texture. For a vegetarian crunch, use cauliflower steaks tossed in the same coating and roast at 425°F for 25–30 minutes.
Storage, Freezing & Make-Ahead Tips
Cooked crispy baked chicken keeps in the fridge for 3–4 days in an airtight container. To freeze, cool completely, wrap each piece tightly in plastic, then place in a freezer bag up to 3 months—reheat from frozen in a 375°F oven for 20–25 minutes. For make-ahead, coat the pieces and place on a sheet pan, cover, and refrigerate up to 6 hours before baking; don’t leave coated chicken overnight or crumbs will soften. Reheat in a 350°F oven or air fryer to revive the crust, avoid microwaving.
What to Serve With Crispy Baked Chicken
This chicken pairs with a bright, acidic side to cut the richness: lemony arugula salad or a simple vinegar-dressed slaw. For comfort sides, roast potatoes, mashed sweet potatoes, or garlic green beans work beautifully. Serve with creamy coleslaw or an herby chimichurri for contrast. Drinks: an ice-cold lager, crisp Sauvignon Blanc, or a sparkling water with lemon. For weeknight dinners, pair with microwaved brown rice and steamed broccoli for a fast balanced plate.
Common Mistakes to Avoid
The top mistake is skipping the drying step—wet skin equals soggy crust, so pat pieces very dry. Overcrowding the pan traps steam; space pieces on a wire rack so hot air can crisp every surface. Using low oven heat will cook the inside but never brown the crust—425°F is your friend. Don’t skip the baking powder; it’s subtle but creates those tiny crispy bubbles. Finally, don’t slice immediately; resting 5 minutes stops juice from pooling and keeps meat succulent.
Frequently Asked Questions
How do I make baked chicken crispy like fried chicken?
Start by drying the chicken thoroughly and using high heat—425°F—so the crust browns quickly. Use panko and a binder (mayo or beaten egg) and add a teaspoon of baking powder to the dry mix; bake on a wire rack so air circulates under the chicken for even crisping.
Can I use boneless chicken breasts in this recipe?
Yes. Pound breasts to even thickness so they cook evenly, reduce bake time to about 18–22 minutes at 425°F depending on size, and consider brining for 15–30 minutes to prevent drying. Use the same coating and check for 165°F internal temperature.
How long should I bake chicken at 400°F or 425°F?
At 425°F, bone-in thighs usually take 30–35 minutes and boneless breasts 18–22 minutes. At 400°F you’ll add about 5–8 minutes to those times. Always use an instant-read thermometer and aim for 165°F at the thickest point.
Do I need to flip the chicken while baking?
No—if you bake skin-side up on a wire rack, you don’t need to flip. The elevated rack lets hot air crisp the bottom too. If you bake directly on a sheet pan, flip halfway for more even browning but you may lose some bottom crisp.
Can I make this recipe ahead and reheat without losing crisp?
Yes—cook fully, cool, and refrigerate up to 4 days or freeze up to 3 months. Reheat frozen or chilled pieces in a 375°F oven for 10–15 minutes (20–25 if frozen) or in an air fryer at 350°F for 6–8 minutes to revive crispness. Avoid microwaving which softens the crust.